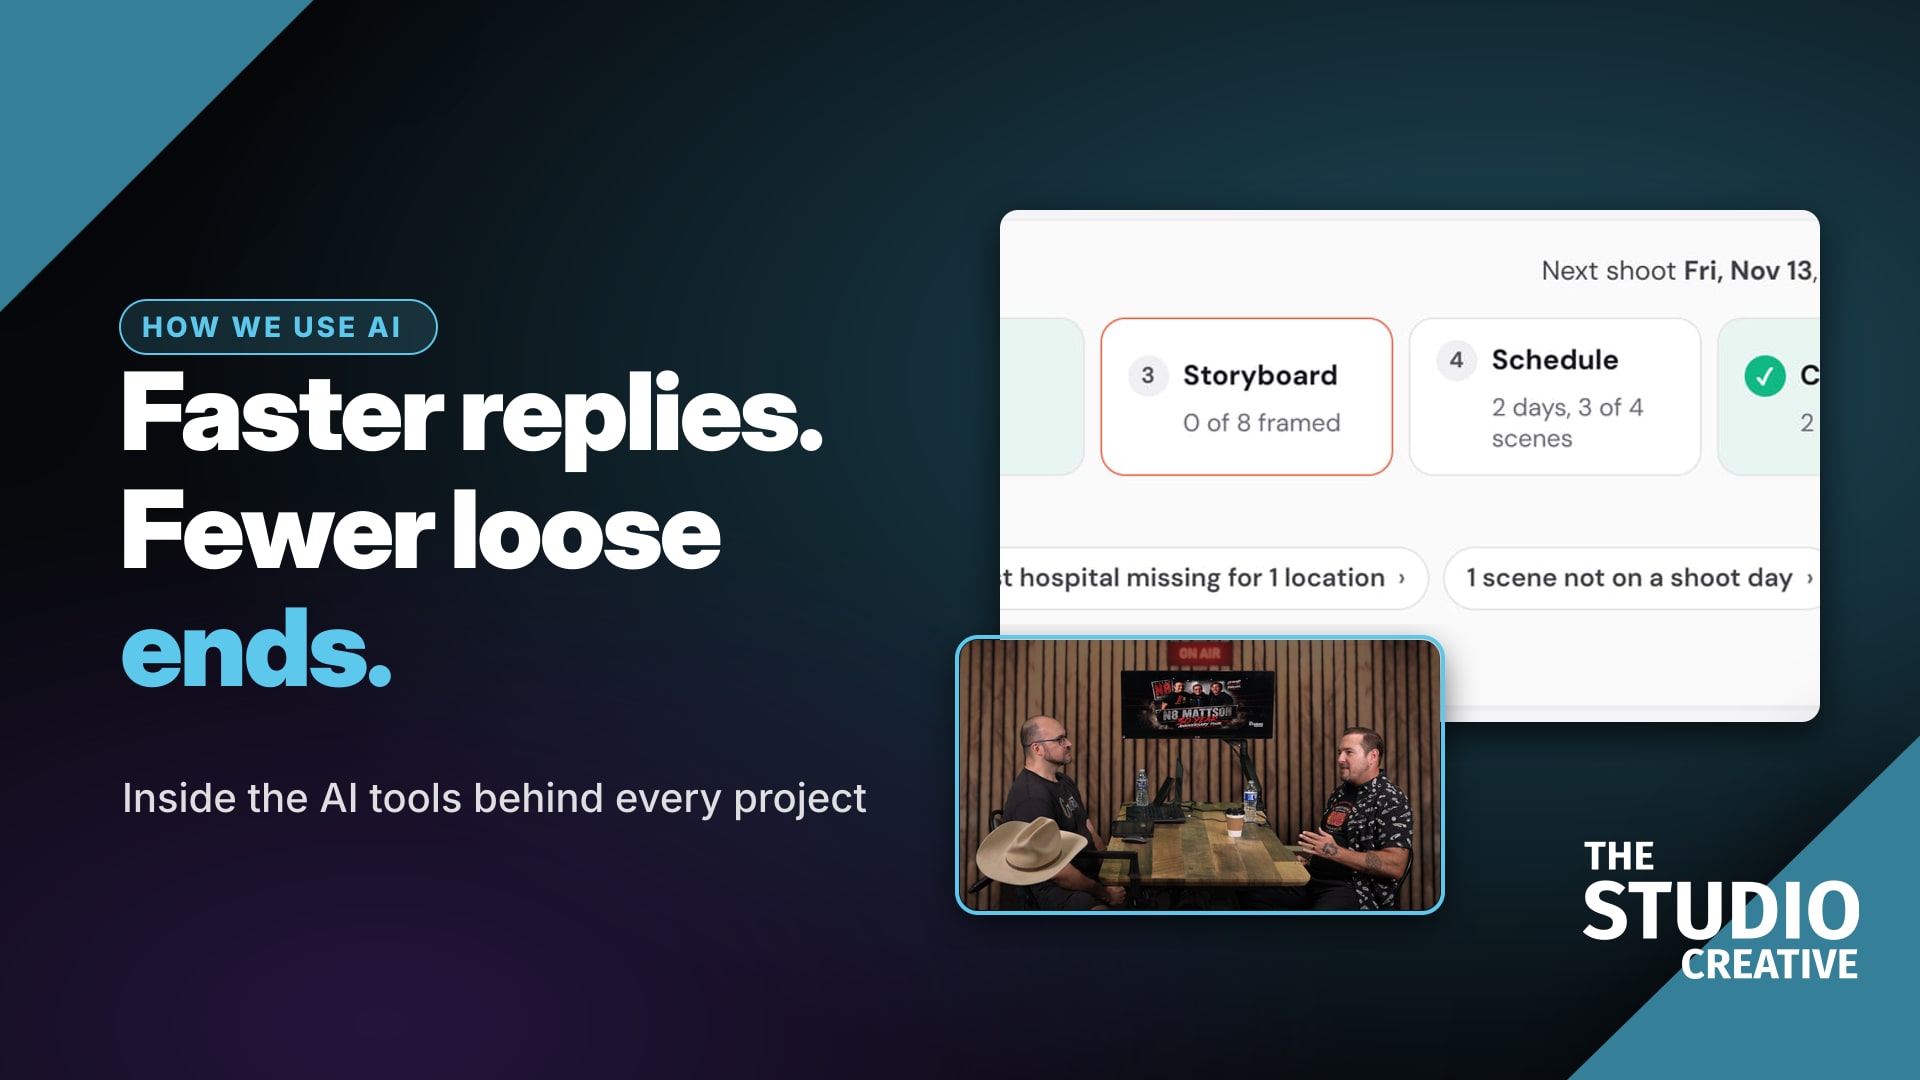
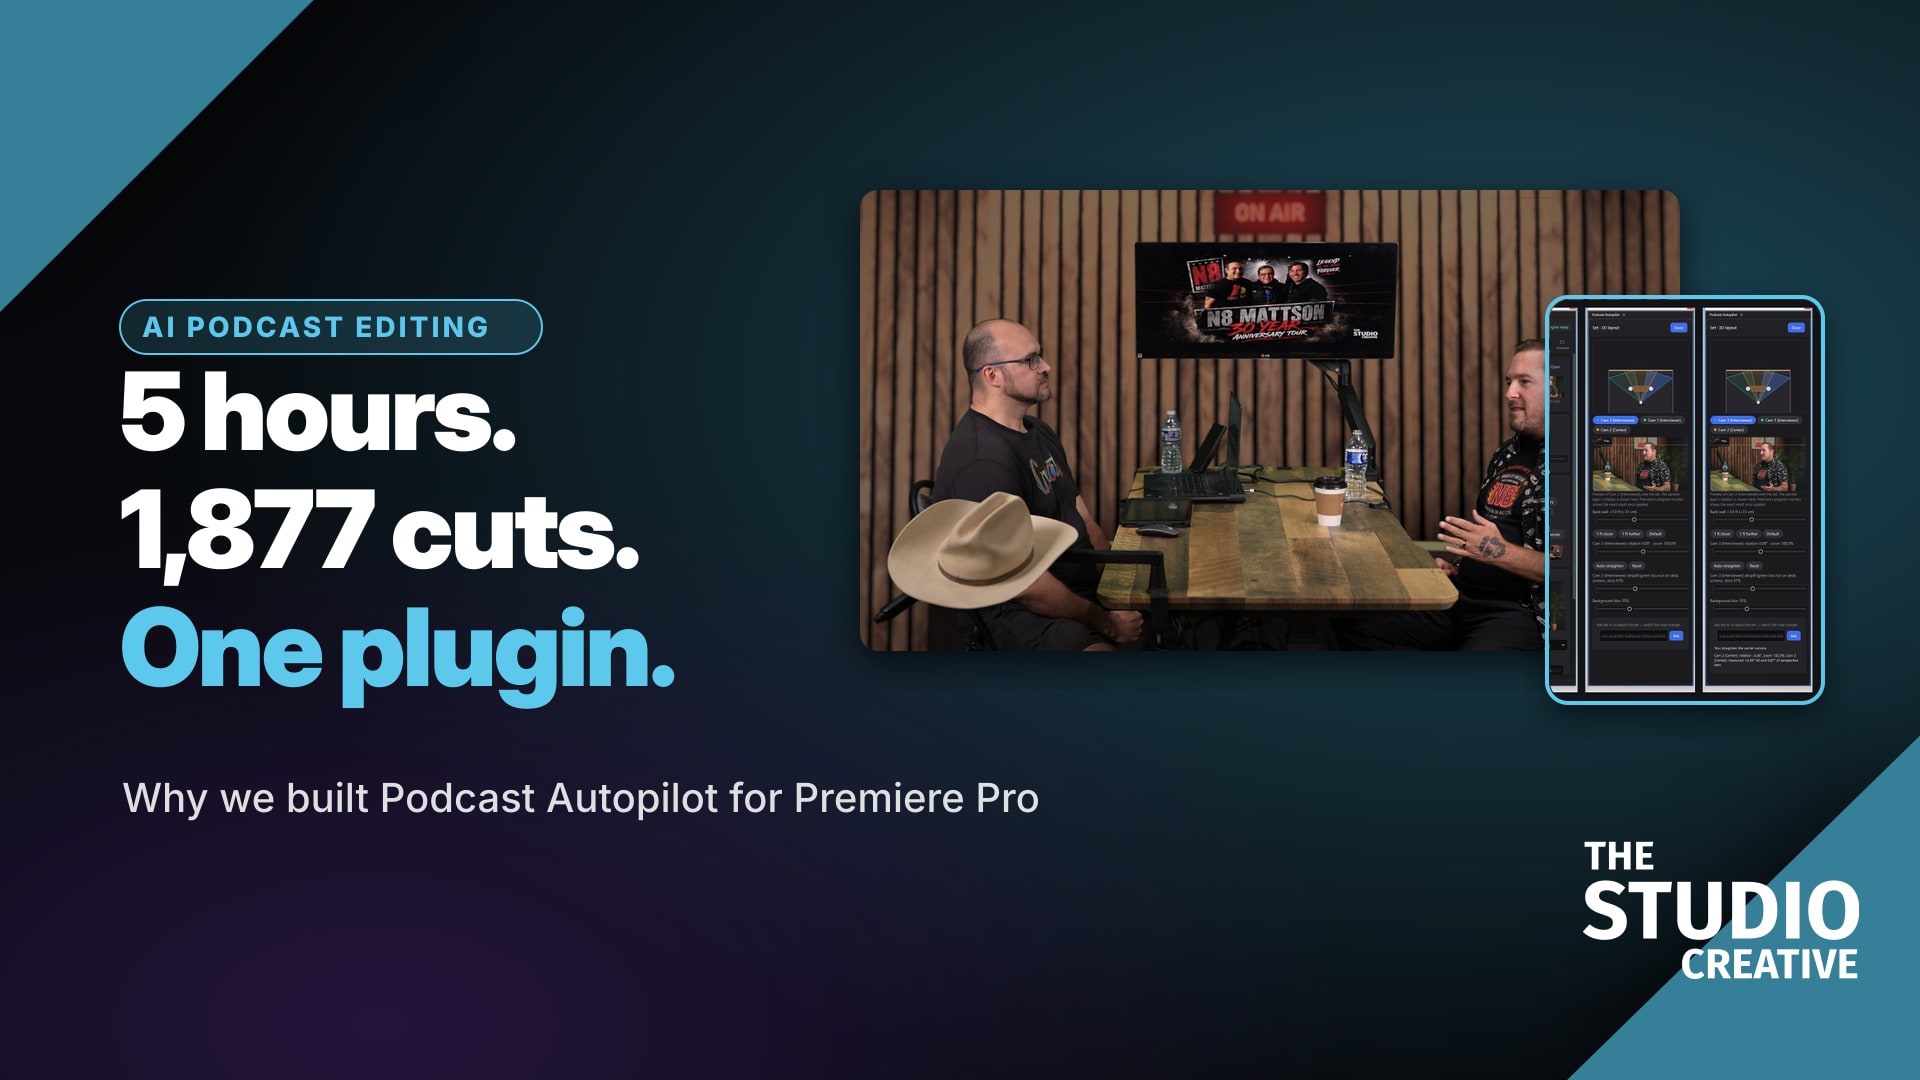
Podcast Autopilot is a plugin we built for Adobe Premiere Pro and DaVinci Resolve that does the first pass of a video podcast edit for us: it syncs every camera and mic, cuts to whoever is talking, keys the green screen into a virtual set, adds captions, finds the best short clips and builds the exports. Everything it makes is a normal, editable timeline, so an editor takes it from there. We built it because a multicam podcast is the most repetitive edit there is, and we wanted our clients' shows out faster without cutting corners. On a five-hour, three-camera interview with wrestler N8 Mattson it placed 1,877 camera cuts. Here is how.
Why We Built an AI Podcast Editing Plugin for Premiere
In this article14 sections
- Why we built it
- How it works, in one picture
- Step 1: Organize the footage before anything else
- Step 2: Sync, then cut to whoever is talking
- Step 3: One studio, seen from every camera
- Step 4: A key you cannot see
- Step 5: Square up a camera that was not quite square
- Step 6: Give notes in plain English
- Step 7: Shorts, captions and thumbnails from the same edit
- Step 8: Exports for every platform
- What it made for N8 Mattson
- What stays human
- What you can borrow for your own podcast
- Questions about the plugin
At a glance4 key points
- Why it exists: hours of talk across several cameras means thousands of cuts, and every fix has to land on all of them.
- What it builds: the cut show, one sequence per camera, captions, vertical shorts, thumbnails and platform files.
- How you change it: type a note the way you would to an editor, and it makes the change in Premiere.
- What stays human: pacing, story, the final look and the sign-off.
Why we built it
A podcast looks simple on screen: two people talking at a table. Behind it is a pile of work that is the same every single time. Line up three cameras and the mics. Cut to whoever is speaking, with reactions and a wide shot mixed in. Key the green screen on every camera. Grade them to match. Write captions and spell every name right. Find the clips worth posting. Make thumbnails. Export a version for YouTube, another for Shorts, Reels and TikTok, and write the titles and descriptions.
On a five-hour conversation that is close to two thousand cuts. And the fixes are the expensive part: if the center camera is a touch crooked or there is green light on the desk, that fix has to reach every one of those cuts and every short. Premiere has no tool a plugin can use to make multicam cuts or razor clips, so nothing off the shelf could do it inside the app we edit in.
So we built our own. The goal was never to replace the editor. It was to hand the editor a finished first pass in the first hour instead of the second day, and to make every change after that a single note instead of a rebuild. For our clients that means three things: shows come back sooner, every episode looks consistent, and more of the budget goes into the story instead of the busywork.
How it works, in one picture
The plugin is a panel inside Premiere (or Resolve). Behind it, an engine runs on our own computer and does the heavy work on its graphics card: syncing, transcribing, finding who is speaking, keying and cutting. Raw footage is never uploaded anywhere to be edited. The AI assistant, when we connect one, reads the transcript to pick clips and looks at single frames to check a cover, and that is all it sees.
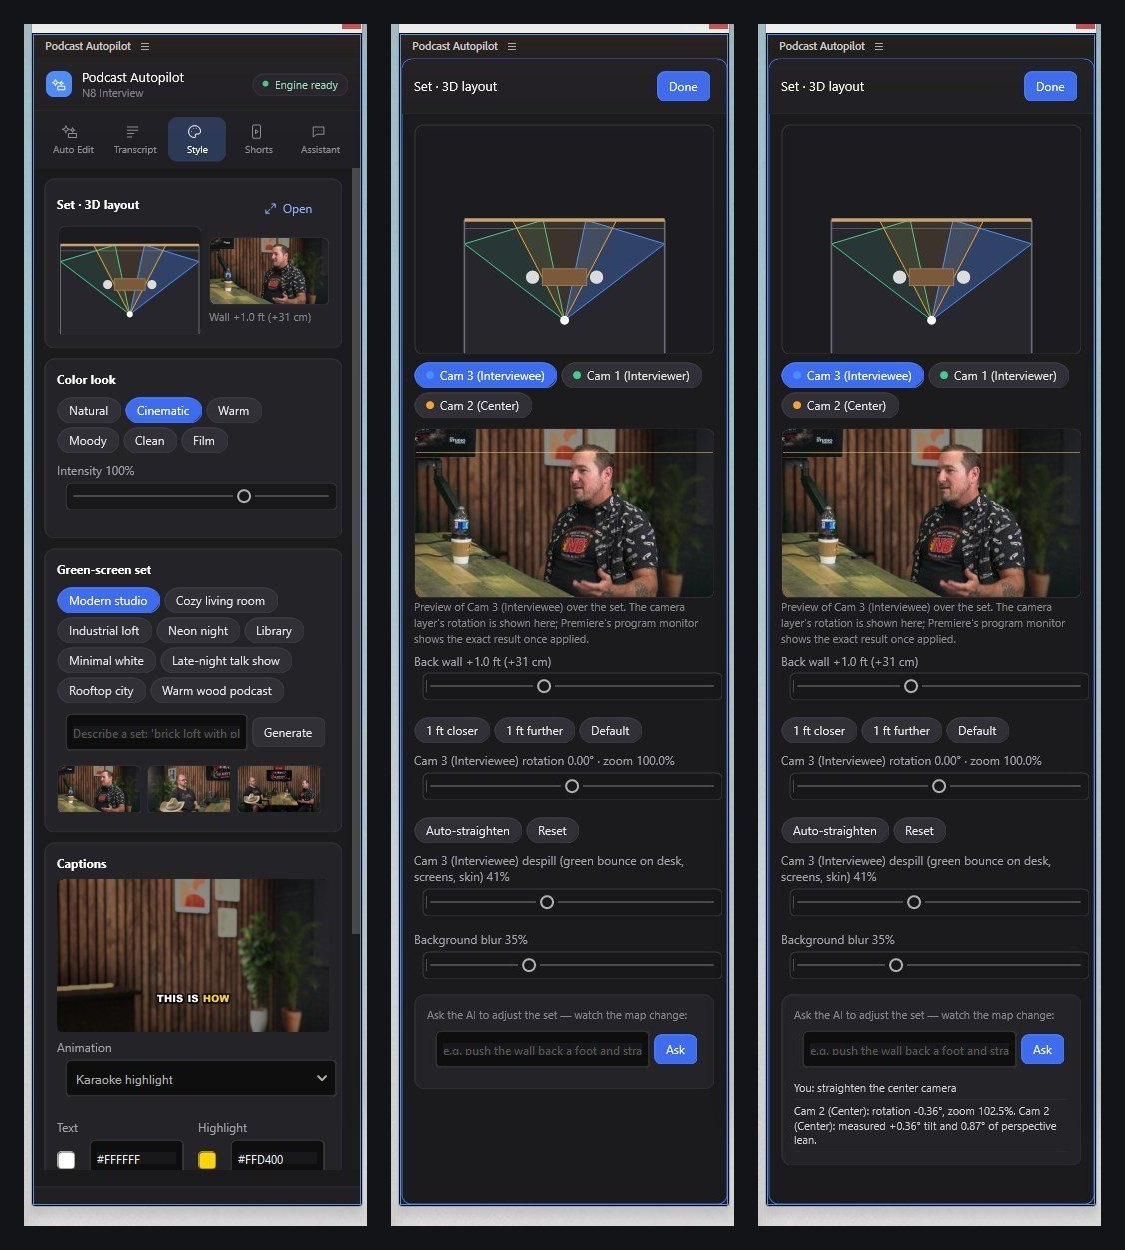
The panel has a tab for each job: Auto Edit, Transcript, Style, Shorts, Organize, Export and an Assistant you can type to. On Auto Edit you add the camera and mic files, type the speakers' names, pick a look, a cutting pace and a set, choose how many shorts you want, and press one button.
Step 1: Organize the footage before anything else
Every shoot comes off the cards as a mess of file names like C1891.MP4. The Organize tab reads every file (what it is, how long, which camera, when it was recorded), sorts them into cameras, separate audio, extra footage, graphics, music and photos, groups them into shoots by date, and flags problems: duplicates, broken files and mixed frame rates. Then it proposes clean names and Premiere bins.
Nothing on the drive changes until we approve the plan, and every rename or move is written to an undo log, so one click puts it all back. It sounds small. It is the difference between an editor who starts editing and one who spends the first hour hunting for the right file.
Step 2: Sync, then cut to whoever is talking
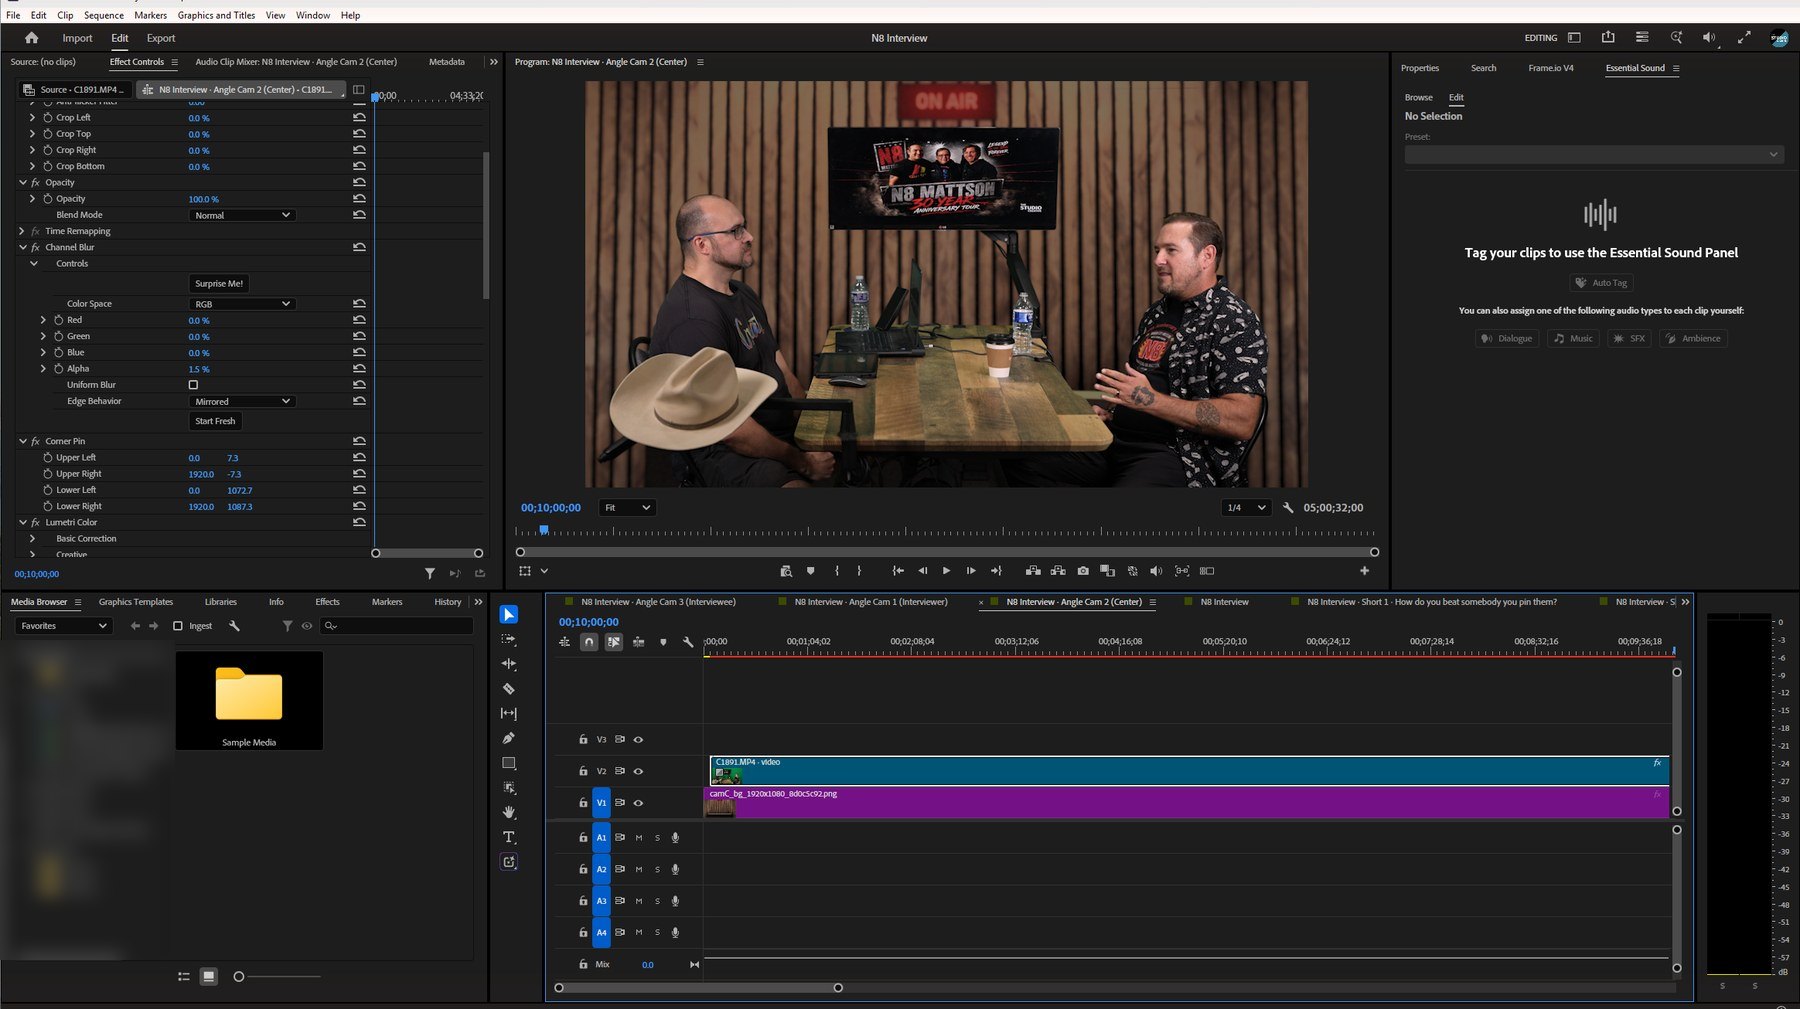
The engine lines up every camera and mic by their sound, works out who is speaking from moment to moment, and builds the cut: the close-up of whoever is talking, a reaction now and then, and the wide shot to breathe. Each camera lives in its own "angle" sequence, with the set on the bottom track and the keyed camera on top. The main timeline just picks moments from those angles.
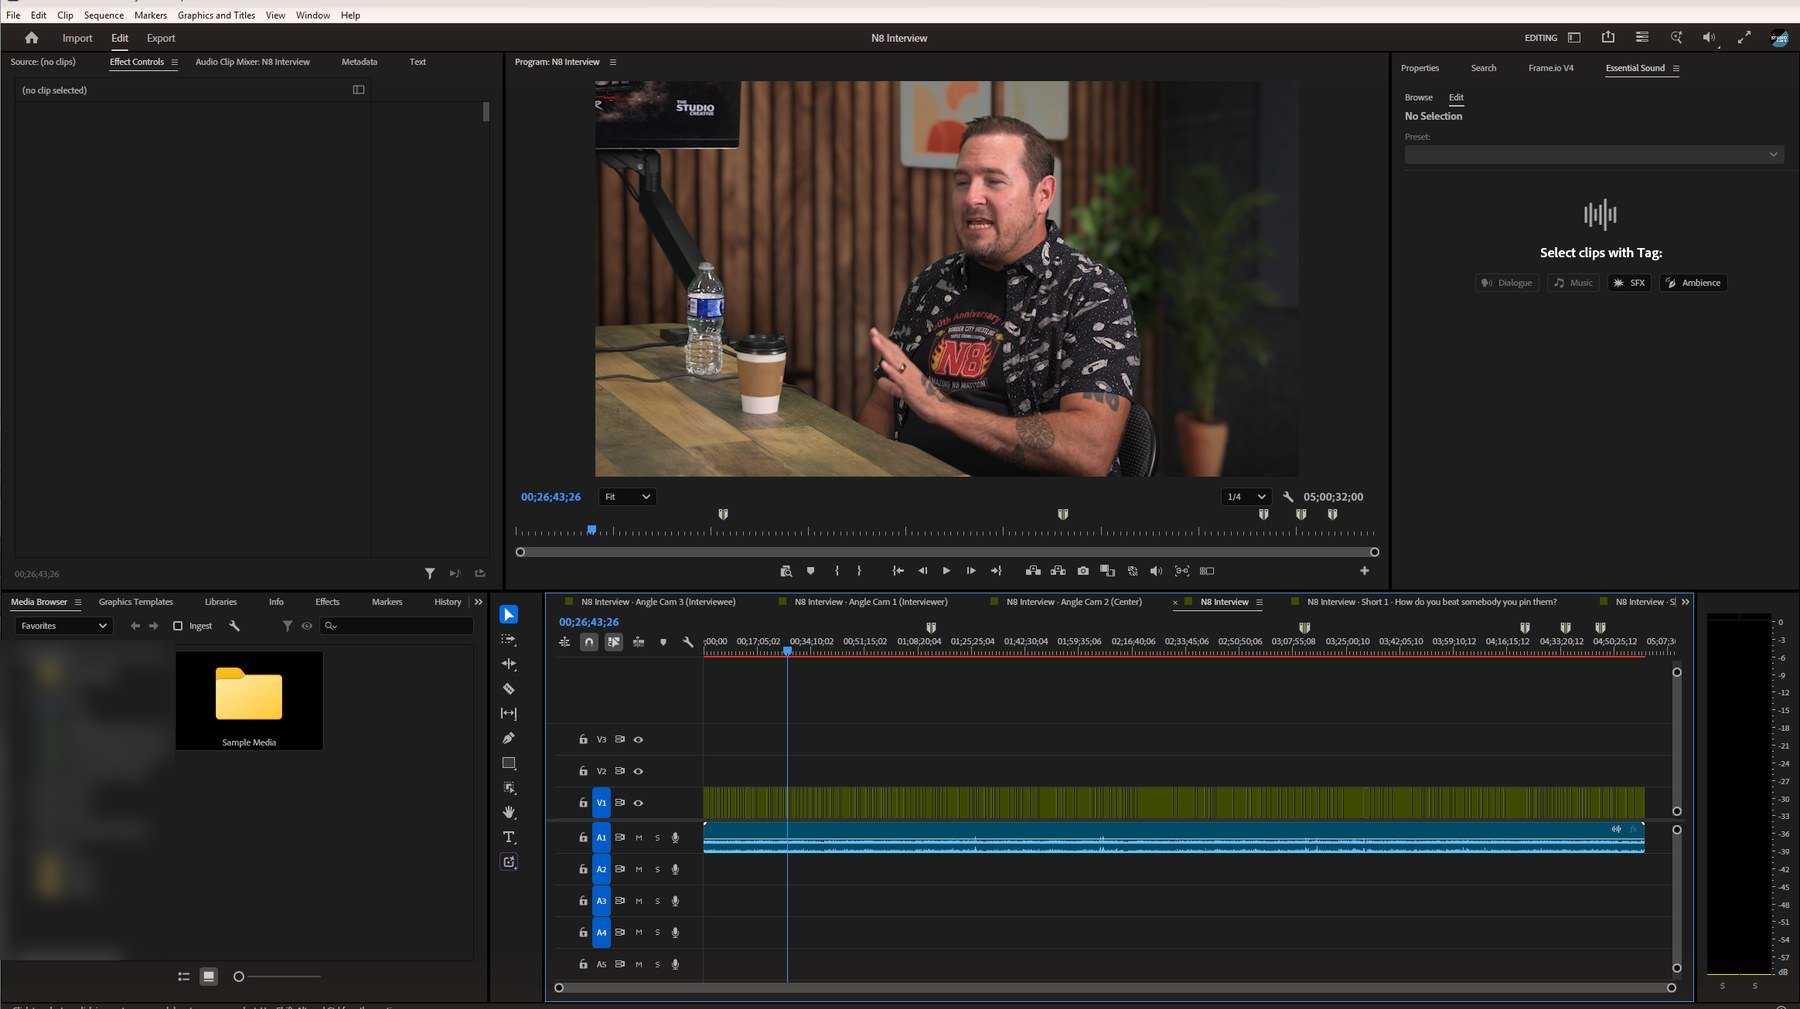
Because the show is built from those angle sequences, a fix to one camera shows up across the whole episode, and in every short, at once. Straightening the center camera or turning down the green on the desk took about five seconds, not a rebuild.
Step 3: One studio, seen from every camera
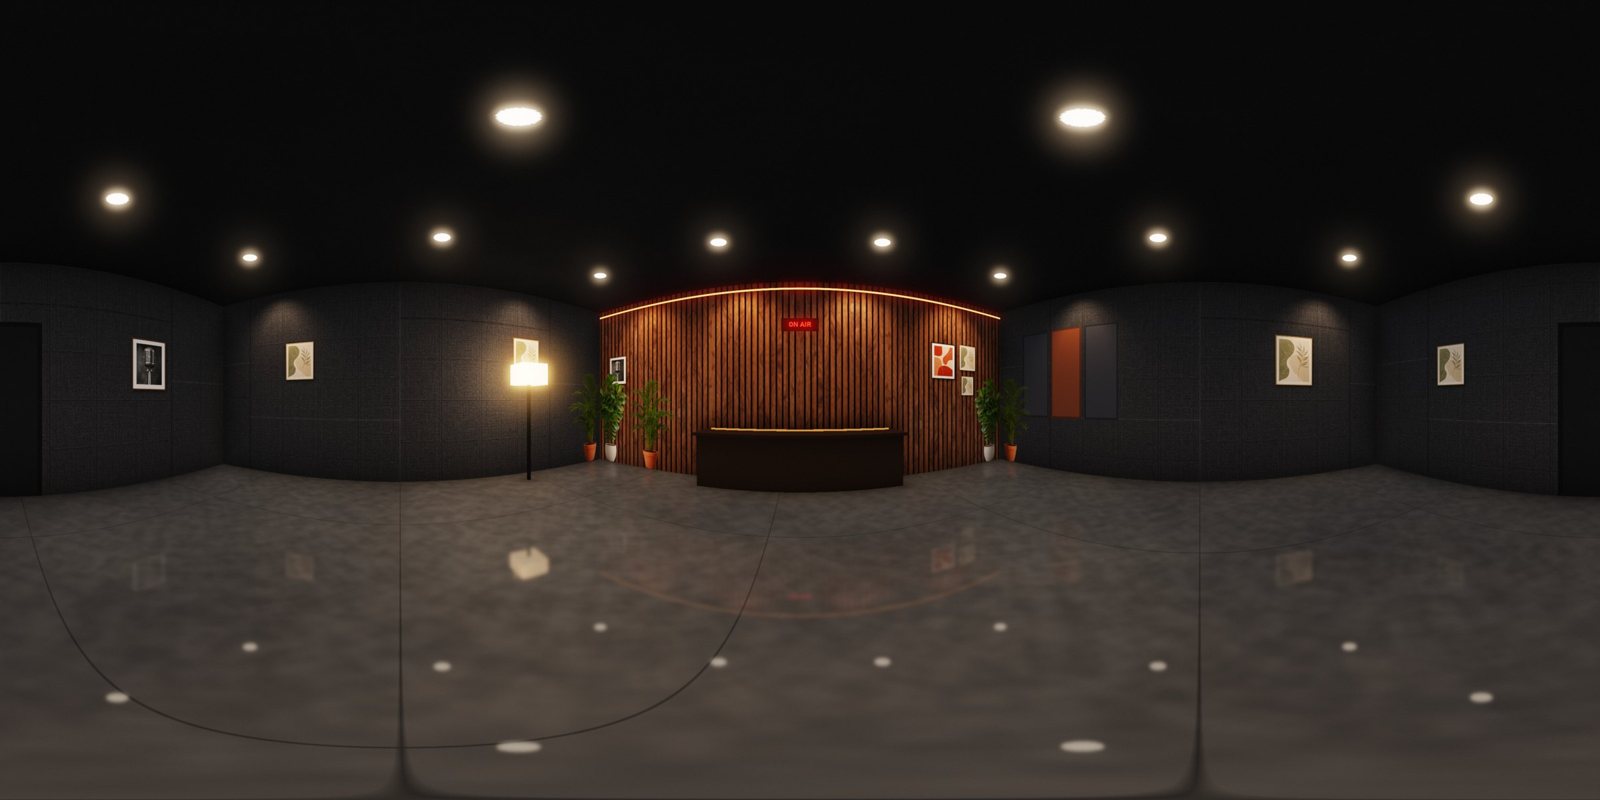
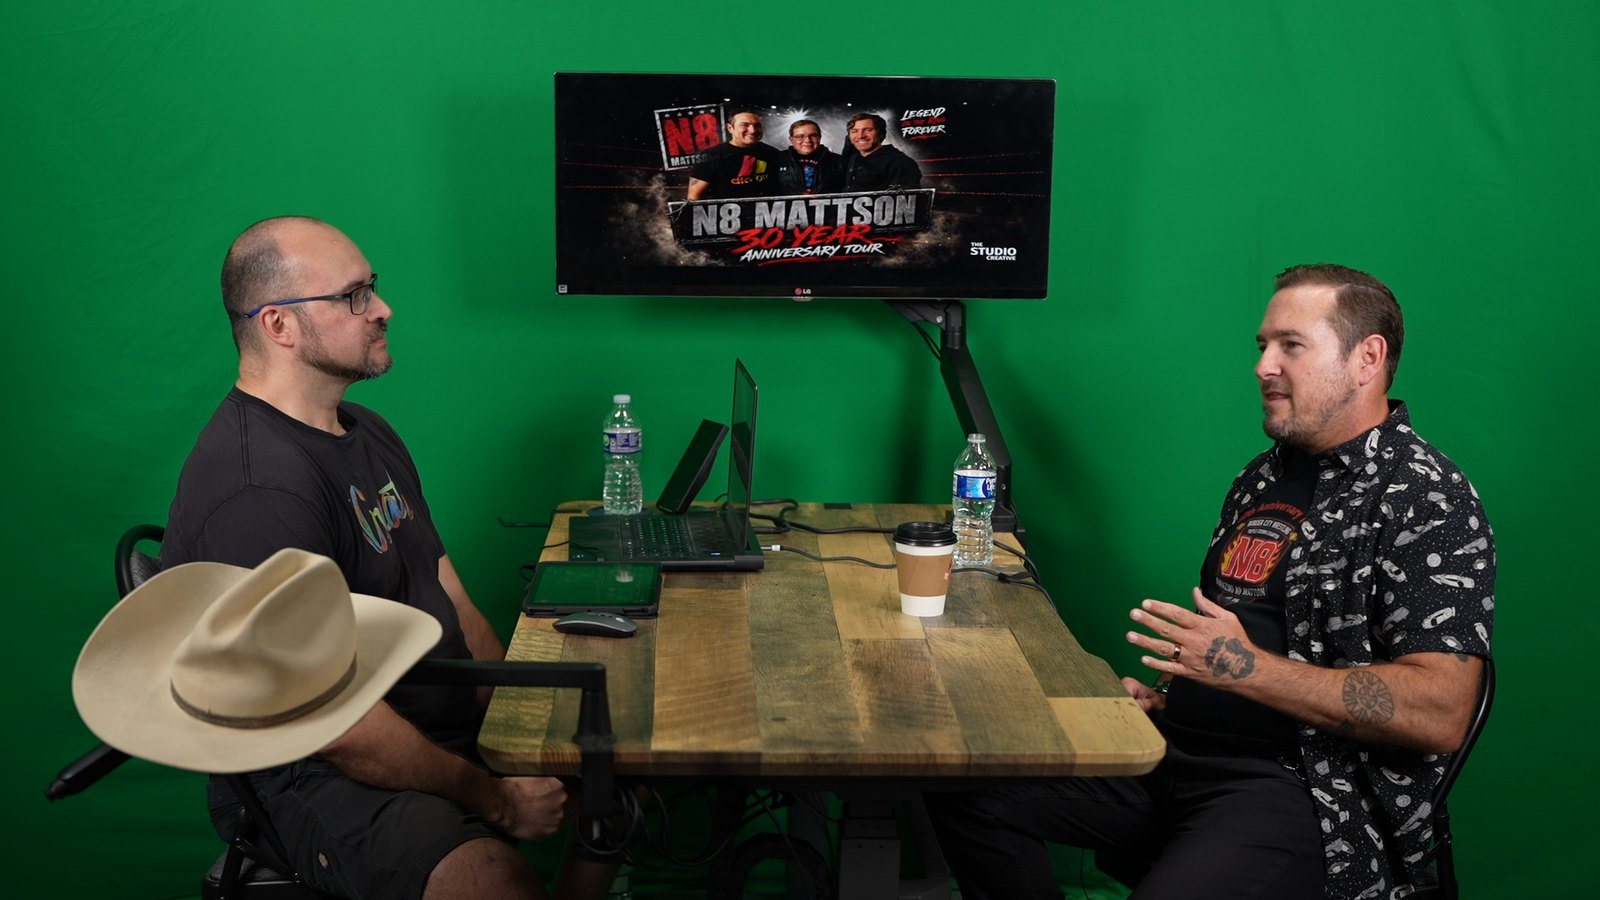
We filmed N8 and Jeff in front of a plain green screen. The set they appear in does not exist. The plugin builds one room in 3D, renders it once as a 360 degree panorama, then cuts each camera's background from it at that camera's angle and lens, with blur and grain matched to it. When the edit cuts from the wide to a close-up, the wall and the lights line up the way they would in a real room.

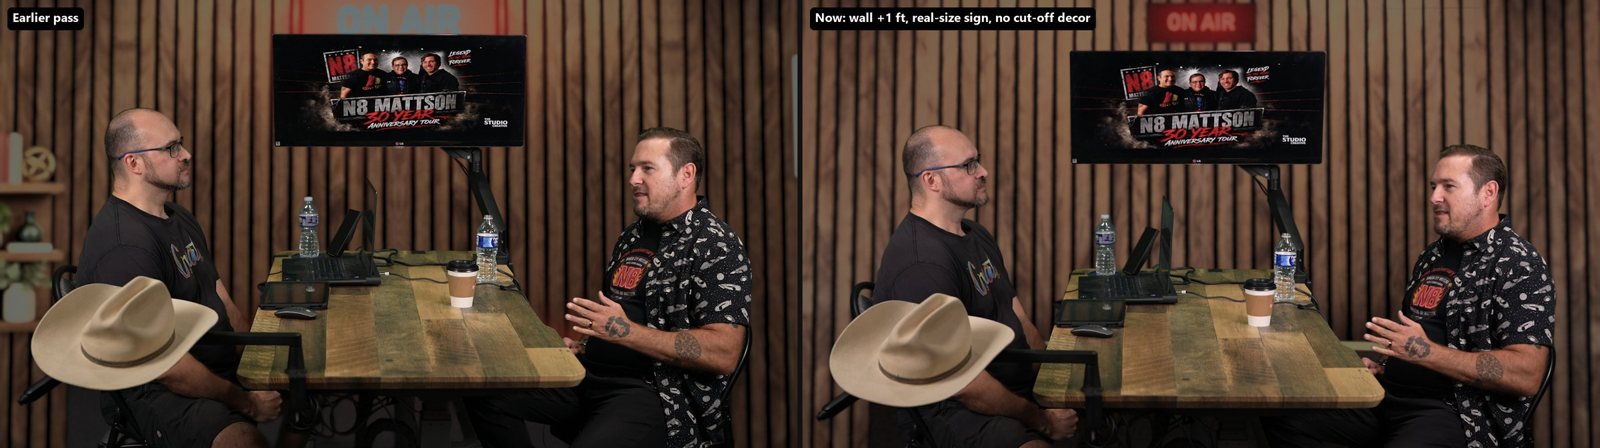
Small details sell a virtual set or give it away. The first pass had a framed print sliced in half by the edge of the frame, an oversized ON AIR sign cut off at the top and a shelf that looked like a photo stuck to the wall. Each was fixed in the set builder itself, so every future set gets the fix: decor now sits fully in or fully out of every camera's view, and the sign is a real-size studio light. We also pushed the back wall one foot further from the table for more depth.
The Style tab offers a set for every kind of show (modern studio, cozy living room, industrial loft, library, late-night talk show and more), or you can describe one in a sentence and it generates it.
Step 4: A key you cannot see
The plugin chooses the keyer by length: an AI keyer for short pieces, where it holds stubble, glasses and motion blur best, and Premiere's Ultra Key or Resolve's Delta Keyer for long shows, where a frame-by-frame AI key would take days to export. Two things still needed attention on this episode, and both are the kind of thing viewers notice without knowing why.
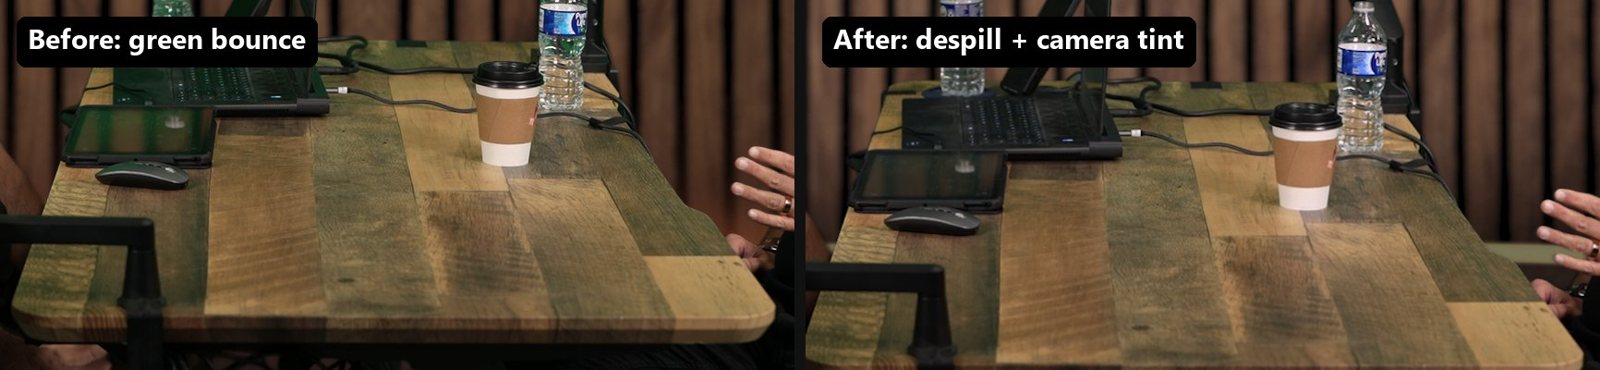
Green light bounces off the screen onto everything near it. The desk, the laptop and an iPad all picked up a green cast. The plugin raised the spill removal and added a small color shift to the cameras that see the desk, which took the green on the desk from 5.7 to 2.0 on our meter without turning skin pink.
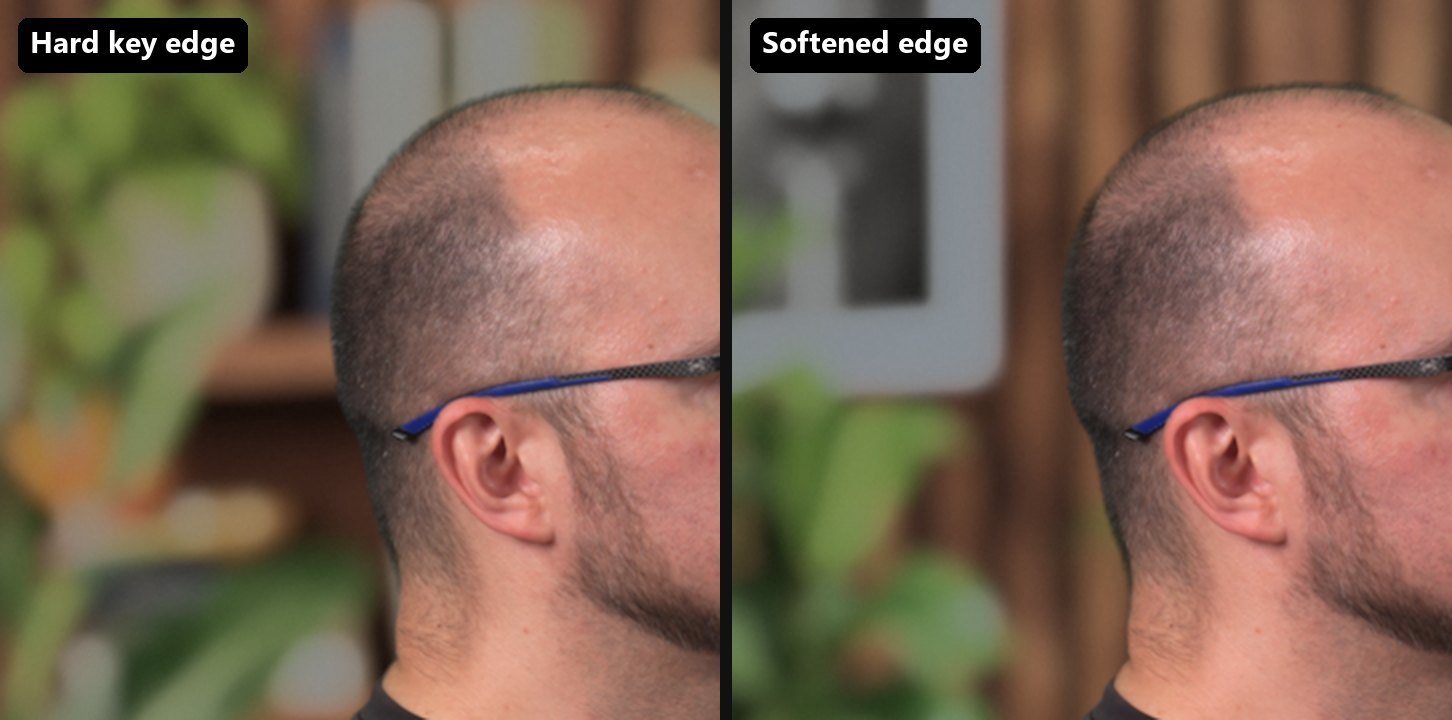
A key that is too perfect cuts people out with a hard edge no real camera would see. A 1.5 pixel blur on the edge right after the key blends hair and shoulders into the set.
Step 5: Square up a camera that was not quite square
The center camera was a touch off: the monitor dipped to the right while the desk edge rose to the right. That is not a simple tilt, it is a camera aimed slightly off square, and rotating alone cannot fix both. The plugin measures every long level line in the shot, the monitor and the desk edge, and works out two numbers: a tilt of 0.36 degrees and 0.87 degrees of perspective lean. The tilt becomes a rotation and the lean becomes a corner pin, both on the camera layer only, so the set behind stays perfectly level.
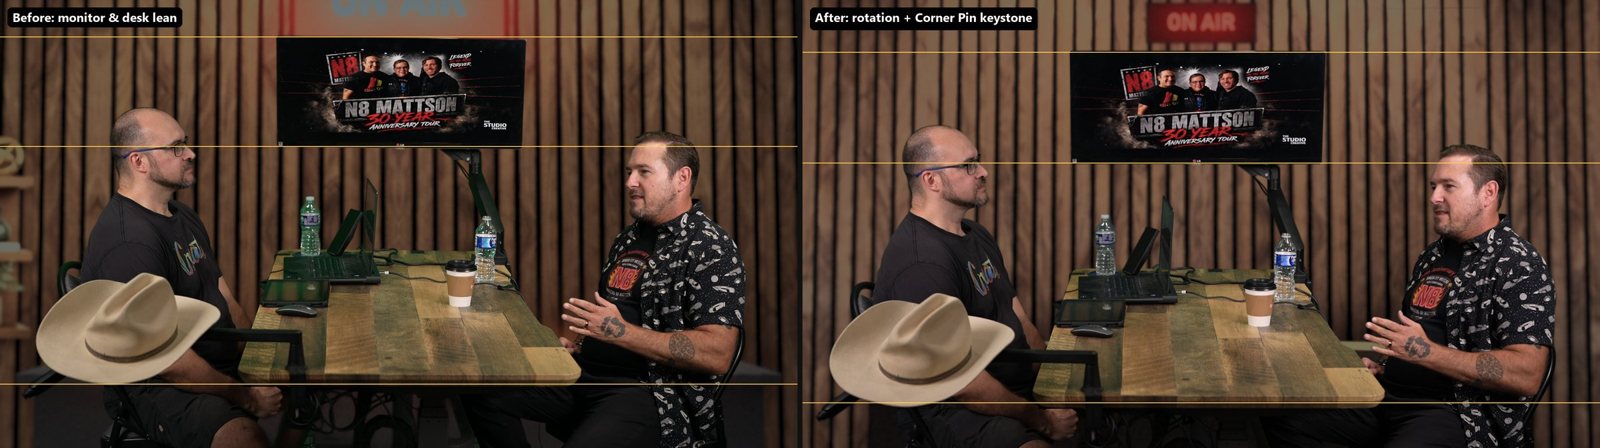
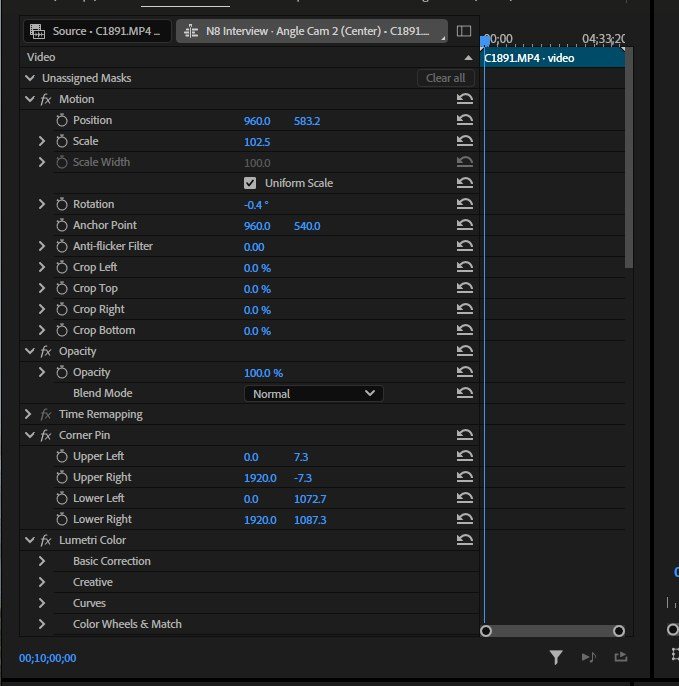
That is the part we care about most. Nothing is hidden inside the plugin. Every setting it makes shows up in Premiere's Effect Controls as an ordinary effect with an ordinary number, so an editor can nudge any of it by hand, and the project opens fine on a computer that has never seen the plugin.
Step 6: Give notes in plain English
When something is not right, we type what we would tell an editor. The Assistant tab has 21 editing tools and built-in Premiere and Resolve know-how, and it can use Claude, ChatGPT, a model running on the computer itself, or simple built-in rules with no internet at all. These are real notes from the N8 episode and what the plugin did with each:
- "There's a little green spill on the desk and the screen of the iPad." Spill removal raised, plus a small color shift on the cameras that see the desk.
- "Slightly rotate the center camera so the top monitor is straight." Tilt and lean measured; rotation and corner pin set on that camera.
- "Push the back wall about a foot further away." Wall moved 30 cm, the set re-rendered and swapped into all three angles.
- "Pull the view down on the center cam." People moved down 4%, which made room for the ON AIR light.
It takes bigger asks too: "make it warmer and slow the cuts down," "captions in brand yellow with a black outline," "make 5 shorts under 45 seconds." And because it speaks the same language as Claude Desktop and Claude Code, we can also drive the whole thing from a chat.
Step 7: Shorts, captions and thumbnails from the same edit
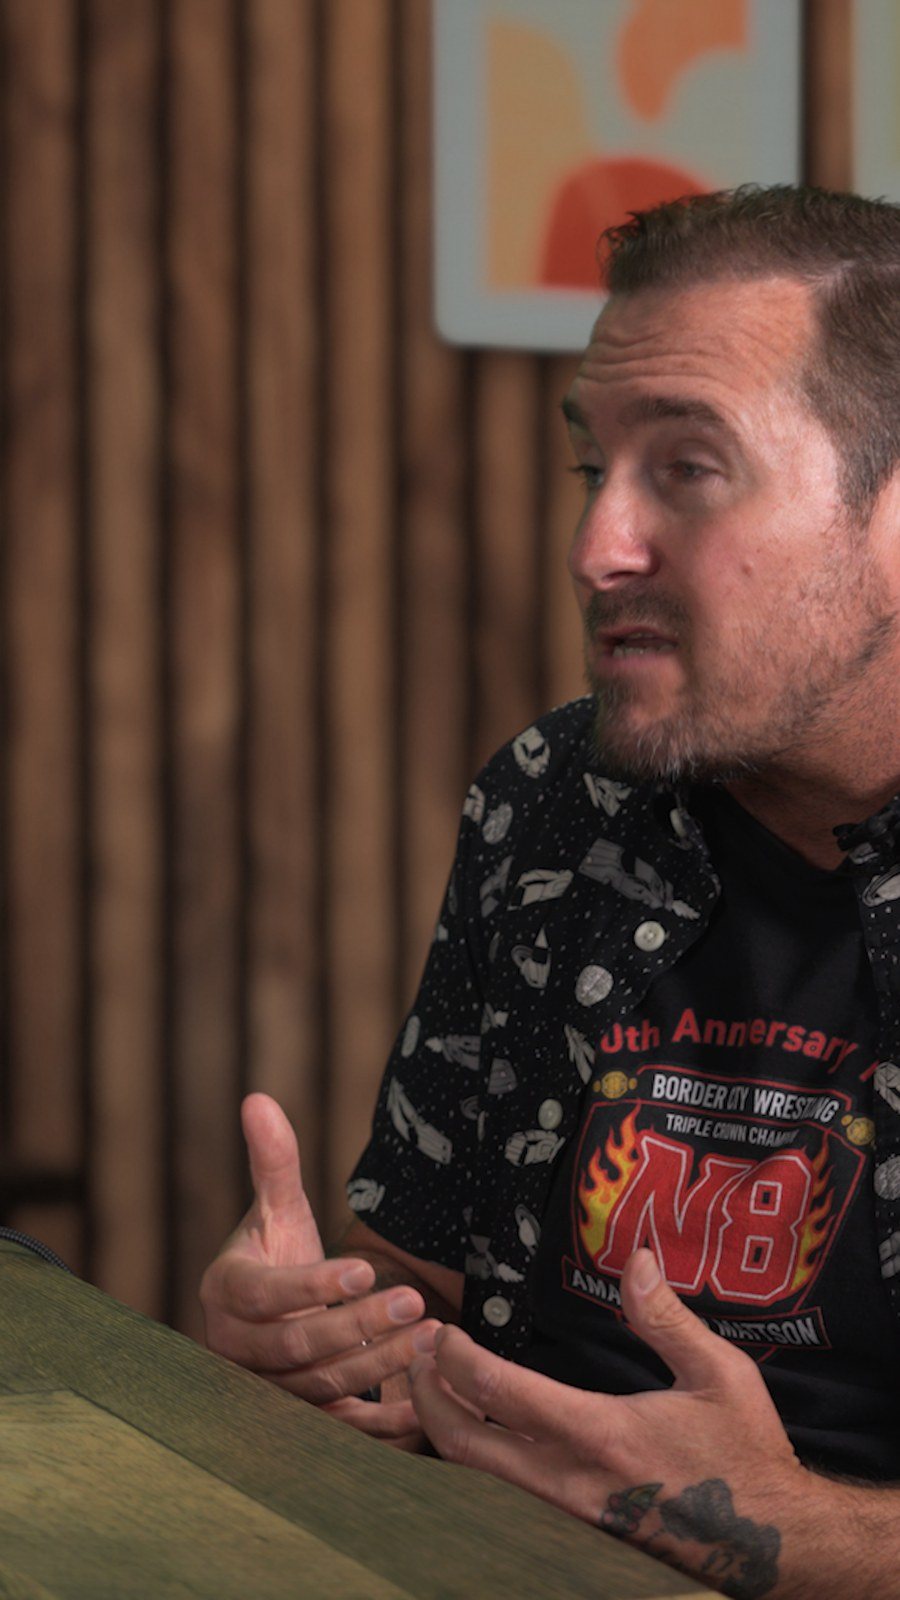
The same analysis that drives the cuts also finds the moments worth clipping, using the transcript, laughter and energy in the audio, and titles that are complete phrases. Shorts are suggested first; we preview, retitle, use or skip each one, and those choices teach it the show's taste for next time. Each short is reframed to vertical around whoever is talking and uses the same keyed angles, so it gets every fix for free.
A few details we built in because clients notice them:
- Names spelled right. Each show keeps a list of names and terms the transcriber must spell correctly, so "N8" never comes out "Nate."
- People look their best. Any frame shown on its own, like a short's cover or a thumbnail, is checked first: eyes open, nobody mid-bite or mid-sip. A failing frame is swapped for another moment.
- Shorts start on their best line. Instagram, TikTok and Facebook use the first frame as the cover, so each short opens on its most scroll-stopping captioned moment.
- Clean sound, always. Episodes and shorts use the clean dialogue mix, never the cameras' room sound, and every platform file is set to that platform's loudness.
- Captions in your brand. Your colors, font and animation, set once per show.
Step 8: Exports for every platform
On the Export tab we tick the sequences and the platforms: YouTube, Shorts, TikTok, Reels, Facebook, LinkedIn and X. Premiere renders one near-lossless master, then the engine makes each platform's file with its own size and settings. It writes the posts alongside: titles, descriptions with chapters, captions and no more than three hashtags each. Every show has a saved profile (brand, call to action, names, music, export folder), so episode two starts where episode one left off.
What it made for N8 Mattson
Five hours in front of a green screen became five finished episodes in a studio that was never built, each with a branded intro, name graphics and a teaser for the next part, plus vertical shorts cut from the same angles.
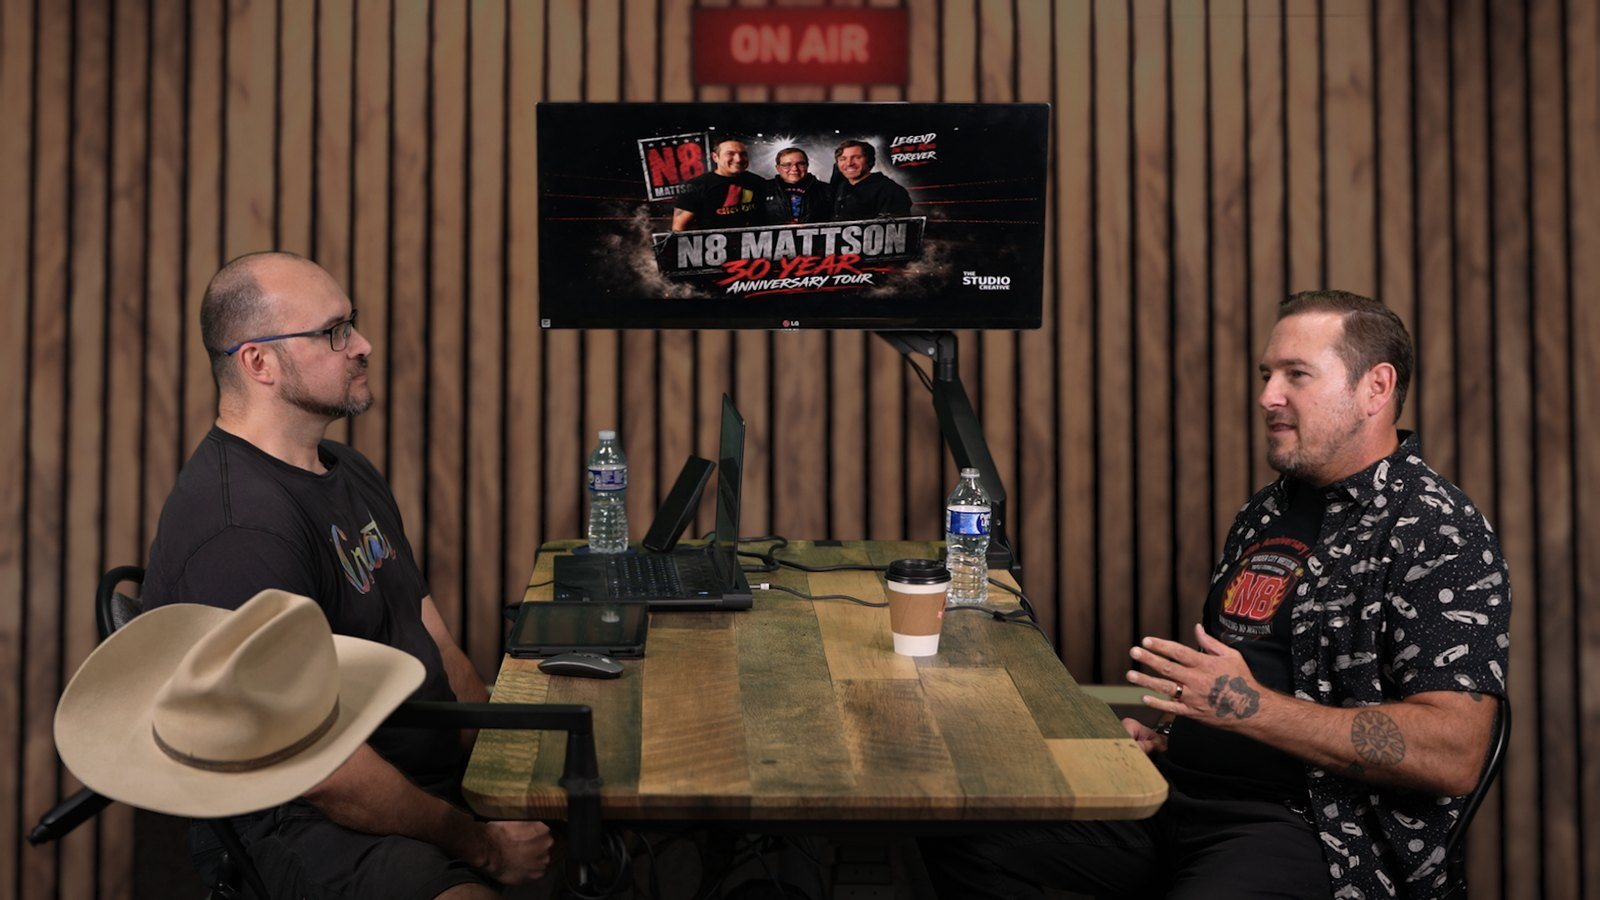
Watch them: Part 1, Part 2, Part 3, Part 4 and Part 5.
What stays human
The plugin gets the show to a strong first cut. A person still decides where a story should breathe, which tangent to cut, when a reaction is worth holding, and whether the episode is ready. That is the part of editing worth paying for, and now it is where our time goes.
What you can borrow for your own podcast
You do not need our plugin to use the ideas behind it. These four habits make any multicam podcast faster to edit and better to watch:
- Record every voice on its own mic. Clean, separate tracks are what make automatic cutting possible, and they are what the audience hears.
- Build each camera as its own nested sequence. Key, grade and straighten it once, and every cut and short picks up the fix.
- Keep a names list for the show. Guests, places and brand terms spelled once, so captions and titles never get them wrong.
- Check every still before it goes out. A cover or thumbnail with closed eyes or a mouthful of food costs clicks.
If you would rather hand the whole thing off, we film and edit video podcasts in our Grand Blanc studio and edit shows filmed elsewhere too. Tell us about your show whenever it suits you.
Questions about the plugin
Does AI edit the whole podcast by itself?
It builds the first pass: sync, cuts, key, captions, shorts and exports. An editor then reviews it, adjusts the pacing and the story, and signs it off.
Does it work in DaVinci Resolve too?
Yes. There is a Premiere Pro panel and a DaVinci Resolve Studio panel, and both share the same engine.
Is my footage uploaded to an AI company?
No. The heavy work runs on our own computer. When an AI assistant is connected it sees the transcript and single still frames, not your video files.
Can I still change things by hand?
Yes. Everything it makes is a normal sequence, clip and effect, so any editor can open the project and change anything.
Was this useful?
AI podcast editingpodcast editing pluginPremiere Pro pluginPremiere Pro podcast editingDaVinci Resolve pluginmulticam podcast editinggreen screen podcastvideo podcast editingauto edit podcastPodcast AutopilotN8 MattsonThe Studio Creative